How to Use Keyframe Animation in CapCut Mod APK
Learn how to master keyframes in CapCut to create professional custom animations for text, video, and images.
What are Keyframes?
Keyframes are one of the most powerful tools in video editing. They are markers on your timeline that define the start and end points of a change to a property. By setting a property (like position or size) at one keyframe and changing it at another, you tell the software to create a smooth animation between those two points.
Position
Scale
Rotation
Opacity
How to Use Keyframes in CapCut
Follow these four simple steps to create your first custom animation.
Select a Clip or Layer
Keyframes can be applied to almost anything on the timeline: video clips, text layers, stickers, or overlays. Tap the layer you want to animate.
Find the Keyframe Icon
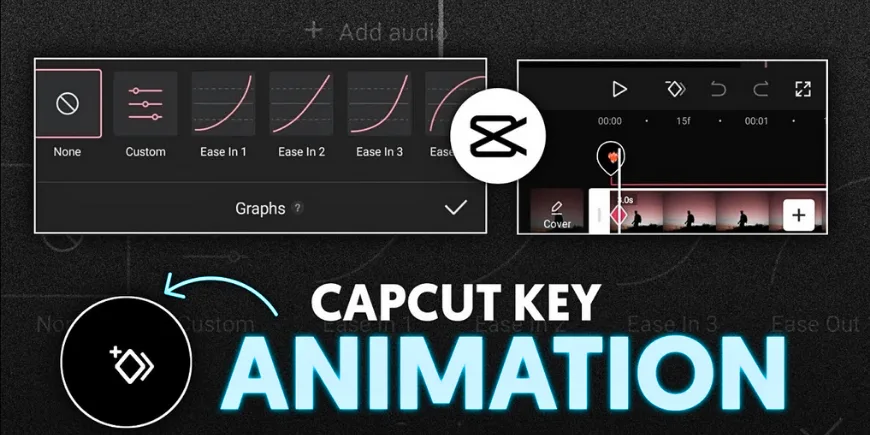
With a layer selected, look for the keyframe icon in the toolbar (it looks like a diamond with a '+' sign). It is usually located near the transform controls (position, scale, etc.).
Set Your First Keyframe (Start Point)
Move the playhead to where you want the animation to begin. Adjust the property you want to animate (e.g., move the text to the left side of the screen). Tap the keyframe icon to set the starting point. A diamond will appear on your timeline.
Set Your Second Keyframe (End Point)
Now, move the playhead to where you want the animation to end. Change the property again (e.g., move the same text to the right side of the screen). CapCut will automatically add a second keyframe. Play back your video to see the smooth animation between the two points.
Pro Tips for Better Animations
Use 'Graphs' for Smooth Easing
Animate Effects and Filters
Frequently Asked Questions
Ready to Master Motion Graphics?
Download the CapCut Pro APK to unlock all advanced animation tools and create stunning motion graphics for free.