Loading...
Complete Tutorial Guide - From Zero to Pro in 30 Minutes. To get the most out of this guide, download the CapCut Pro APK or browse the latest versions before you start.
10 min
15 min
20 min
CapCut is the perfect starting point for beginner video editors. Developed by ByteDance (the creators of TikTok), CapCut offers professional-grade features in a user-friendly interface. Our CapCut APK unlocks all premium features, giving you access to advanced tools typically reserved for paid users.
Start by downloading our modified CapCut APK that includes all premium features unlocked. This version removes all limitations and gives you access to the complete feature set.
Need help installing? Follow the installation guide for step-by-step instructions.
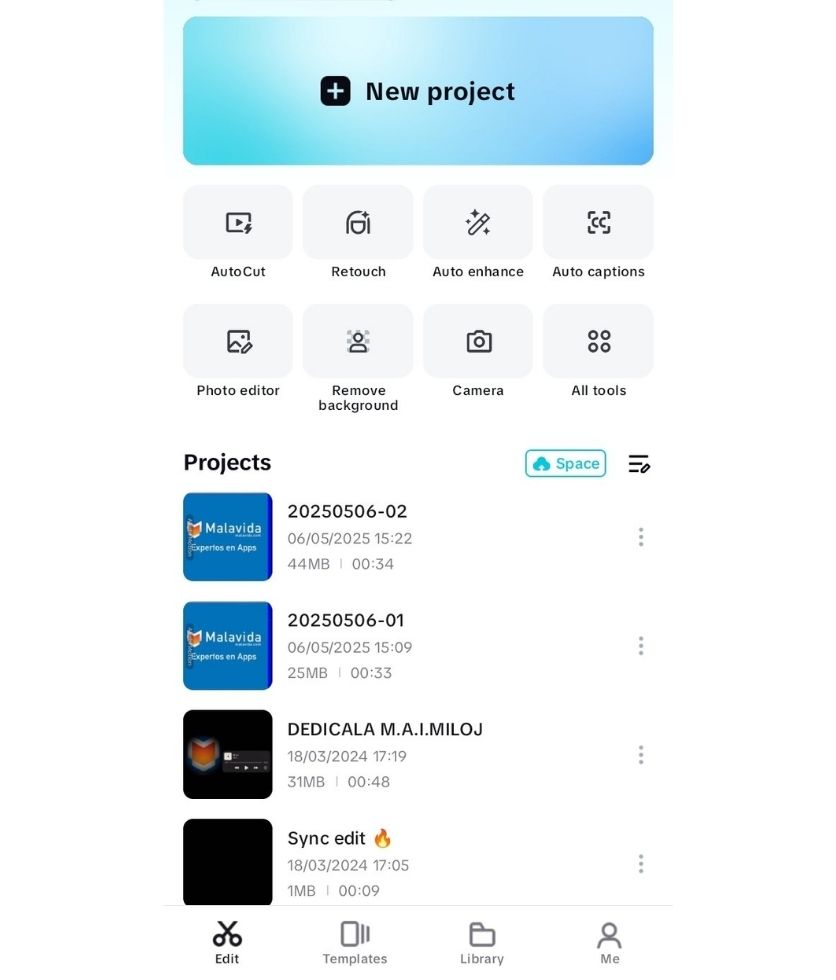
Download CapCut APK FreeBefore diving into editing, let's familiarize ourselves with CapCut's main interface components.
Shows your video as you edit it. Tap to play/pause.
Where you arrange and edit your video clips, audio, and effects.
Access to editing tools, effects, filters, and export options.
For your first project, start with 3-5 short clips (10-15 seconds each). This makes learning easier and keeps your audience engaged.
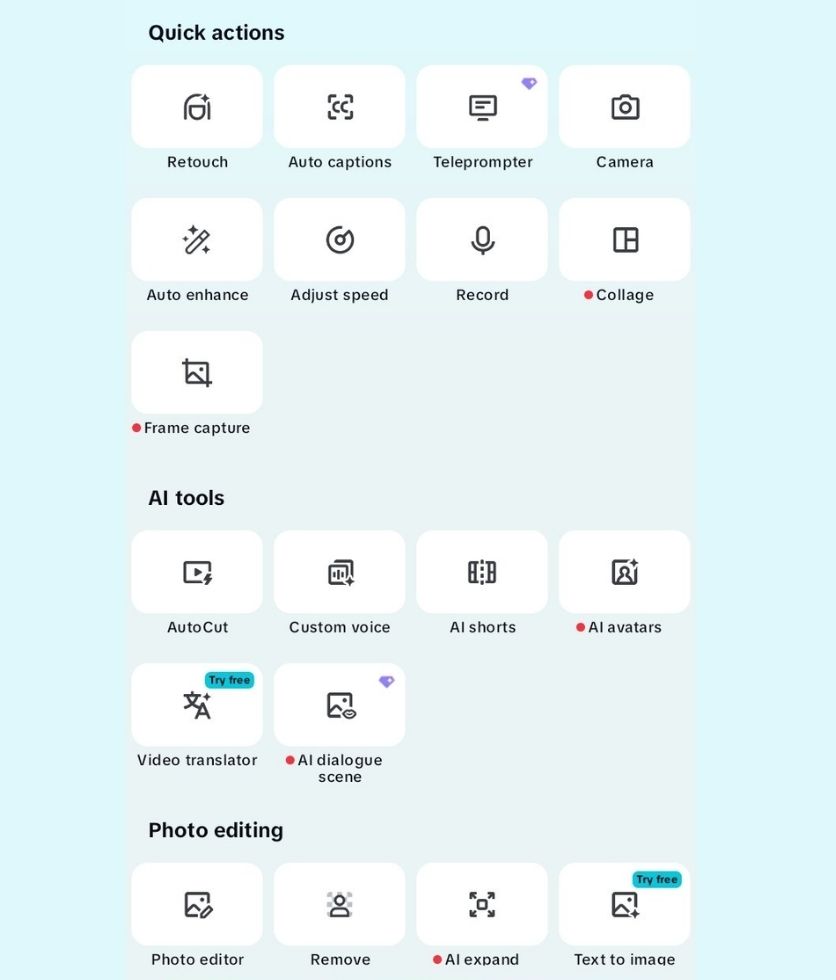
Learn to split, cut, and trim video clips with precision.
Apply stunning visual effects and color filters to enhance your videos.
Add background music, sound effects, and adjust audio levels.
Create animated text, titles, and captions for your videos.
Transitions make your video flow smoothly between clips. CapCut offers dozens of creative transition effects.
Once your video is ready, it's time to export it in the best quality for your intended platform.
Download the latest version of the CapCut MOD APK to get started. Follow our guide for a seamless installation.